
What is pour-over coffee
Pour-over coffee is created by pouring hot water over coffee grinds. The water is drained through the ground, the bottom of the cone, and into your cup by gravity. The difference between pour-over coffee and drip coffee is the manual and automated processes. This heavily impacts the overall flavor and the output of the coffee. The pouring technique is what makes the coffee more flavorful. The speed of the pour will help in ensuring the grounds are saturated and evenly distributed.
The difference is mainly noted by the taste compared to automated drip coffee. The manual mode of Pour-over coffee will be instantly recognized by the taste.
The most important attribute of making pour-over coffee is :
This requires practice and precision to brew the tasting coffee. Patience requires you to slowly extract the coffee from the filter and into the carafe.
How to make pour-over coffee
First, let’s take a look at what you need to have to prepare to pour over coffee.
Step – 01
Proceed in adding coffee ground onto the filter and giving it a slight circular motion to spread the grinds around.
Step – 02
Then it is time to familiarize the filter with hot water as we need a consistent temperature to achieve the best pour-over coffee. Putting hot water on a cool filter will trigger a slight loss of temperature and this might affect your overall coffee. This can also create a slight paper taste if the filter is new and this is pretty noticeable when making pour-over coffee.
The technique of pouring water is what makes the whole process interesting. A circular motion is done slightly around the filter to get an even pour on the filter and when the coffee is added later.
Step – 03
Drain the water out to a container so that it is clean and ready to brew.
Step – 04
Proceed in adding coffee ground onto the filter and giving it a slight circular motion to spread the grinds around.
Step – 05
Next, the scale can be useful in measuring the water. 12.5-13 ounces (400-450g) of water can be measured.
Step – 06
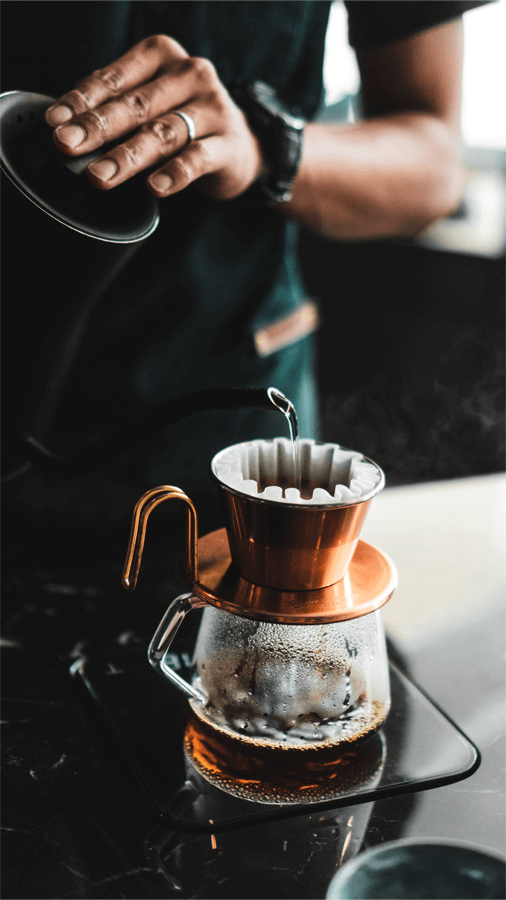
The hot water which is ideally heated at around 200 to 195c’ can then be poured into the kettle which should be rested for around 30 seconds before the pour.
Step – 07
The next step is to wet the grounds properly by pouring the hot water following the same circular motion and letting the water sit on the ground for 30- 35 seconds. This process is popularly known as blooming. This allows the coffee grounds to create an even extraction and the oils will set with the gases released in the process.
Step – 08
After the blooming time, the pouring can start. This is done slowly from the center in a circular motion evenly and carefully covering all the grounds and ideally, if your pouring speed is good it would ideally take around 5 minutes for the pour.
The water may get stuck with the grind and then a slight stir will let the pouring begin slowly. Remember the whole process needs to be gently handled and ideally let the coffee drip. After the coffee is drained almost the filter needs to be removed without letting it to be dried out.
The coffee is ready to be served.
Pour-over coffee ratio
The pour-over coffee ratio can vary on personal preference. Most brewing guides would recommend ratios of 16:1 or 19:1. These percentages and the measurement amounts may not be fitting to individual taste buds. The golden rule is defined as one-two tablespoon of ground coffee for every 6 ounces of water. But this may be inaccurate for some coffee tasters and this is entirely up to the brewer to get a proper taste.
Get multiple tries in and you will be able to find the best match that suits your taste. Additionally, you can note down the increments that are made each time to find the best taste and this allows you to get a proper recipe that works consistently every time in any given situation.