In a world where the lines between home-cooked and takeout meals are becoming increasingly blurry, the air fryer has emerged as a game-changing addition to the American kitchen. It offers a quick, healthier alternative to deep frying, thanks to its innovative convection technology.
But, just like any other kitchen gadget, your trusty air fryer deserves some tender loving care to deliver culinary excellence. It’s not as simple as a casual wipe-down, yet not as daunting as a full oven cleaning.
Keeping your air fryer squeaky clean is pivotal for its long-lasting performance, ensuring it continues to churn out fantastic dishes. This air fryer cleaning guide will be your guiding light, helping you avoid sluggish heating, erratic energy consumption, and making post-cooking cleanup a breeze. So, let’s dive into the world of air fryer maintenance and keep those flavors sizzling!
What should be avoided when cleaning an air fryer

The unsung hero of your air fryer? Well, that’s definitely the trusty non-stick coating in the air fryer basket. This clever coating is your kitchen sidekick, making cooking and cleanup with your air fryer a breeze.
So, what’s all the buzz about this non-stick coating? It’s the reason your food doesn’t cling to the basket, ensuring your dishes come out just right. Plus, it’s your passport to cooking with less or even no oil, which is what the air fryer is all about. When it’s time to tidy up, this coating makes cleaning up leftovers a piece of cake.
But, here’s the key takeaway, taking care of this non-stick coating is a top priority during cleaning. It’s a delicate layer on the air fryer basket that’s prone to scratches and wear. Using gentle cleaning methods is the secret to keeping your air fryer in tip-top shape.
When it comes to kitchen appliances, the big question is, which ones are safe for surfaces that come into contact with our food? Well, some disinfectants are potent enough to harm that precious non-stick coating. So, if you’re thinking of using disinfectants, make sure they’re safe for food contact surfaces. Chlorine, iodine, and quaternary ammonium are among the usual suspects that get the green light.
And here’s the modern twist, many air fryers these days are dishwasher-friendly, making life even more convenient. After the dishwasher run, just check to ensure there aren’t any cracks or damages due to the heat. But don’t fret too much; newer models are built to handle the standard dishwasher heat.
Now, for the daily routine, wiping down your air fryer. Just remember, it’s a no-go while it’s plugged in. And please, no water splashing on the main unit to avoid any electrical mishaps. So, there you have it, your guide to keeping your air fryer in tip-top shape without any fuss.
Can you clean an air fryer with vinegar and baking soda
Yes, you can clean the air fryer with vinegar and baking soda. However, make sure that you use the exact amount needed for the job in hand. Using excessive amounts and slathering them with abrasive sponges may damage the non-stick coating.
Whip up a Baking Soda Paste. When soaking isn’t enough, make a thick paste with baking soda and water. Slather it on, wait a few minutes, then scrub away for a sparkling clean basket.
Spritz with Vinegar Magic. Mix equal parts vinegar and warm water in a spray bottle. Give your air fryer inside a good spritz to deodorize and loosen stuck-on food. Or, let it soak for effortless cleaning. Unleash the Baking Soda and Vinegar Combo.
For the toughest spots, blend baking soda and vinegar into a robust paste. Spread it over stubborn grime, wait, and scrub it away. Your air fryer will thank you with a fresh, clean look and smell.
How to clean an air fryer step-by-step guide

Step 1: Gather Your Arsenal
Before you embark on your air fryer cleaning mission, it’s time to assemble your cleaning dream team. Grab these trusty tools:
Step 2: Let the Calm Descend
Unplug your air fryer and let it take a breather for a minimum of 30 minutes. Once it’s as cool as a cucumber, gently remove all the removable parts, such as the basket, tray, and pan.
Step 3: Pamper the Removable Parts
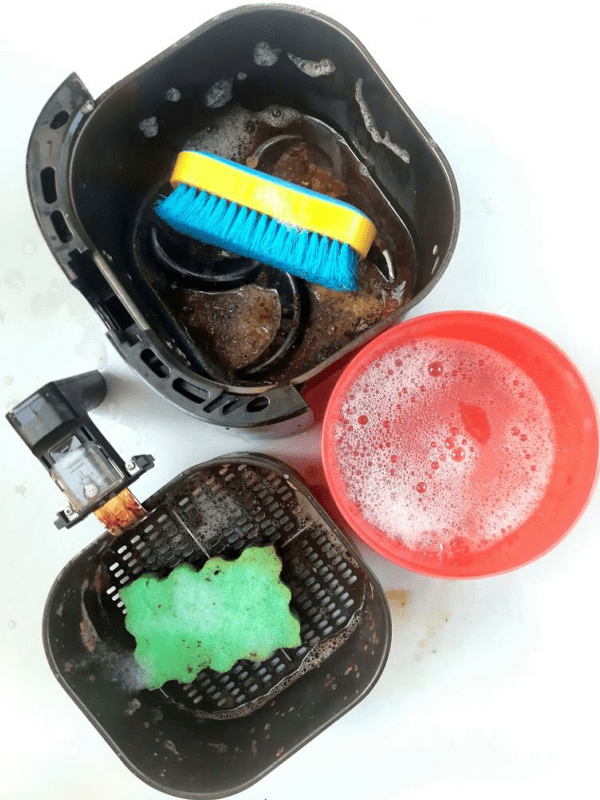
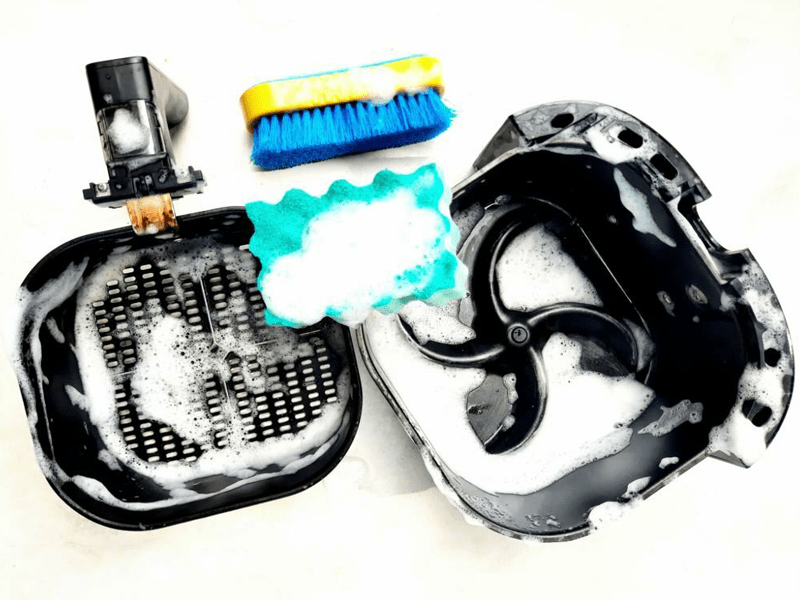
Run a soothing bath for your removable parts with some warm, soapy water. If you spot stubborn, baked-on grease or charred food bits, let them soak in a warm, soapy embrace for 10 to 15 minutes. Then, it’s spa time – scrub them gently with your nonabrasive sponge. If they’re dishwasher-friendly, let the machine do the pampering.
For the rebellious spots that refuse to yield, create a cleaning potion by mixing baking soda and water. Apply this paste with your soft-bristle brush, work your magic, and wipe it clean, just like a cleaning wizard!
Step 4: Caress the Interior
Lovingly caress the interior of your air fryer with a damp microfiber cloth or a nonabrasive sponge. Add a sprinkle of dish soap to your chosen companion and give it a gentle massage. Finally, wipe away any soapy traces with a fresh, damp cloth.
Step 5: The Heating Element’s Checkup
Turn your air fryer upside down for a different kind of checkup. Use a damp cloth or nonabrasive sponge to give the heating element some TLC.
Step 6: Admire the Exterior
The outside deserves attention too. Gently clean the exterior with a cloth or sponge, adorned with a dash of dish soap. Then, eliminate any lingering traces of soap with a damp cloth, and finish by giving the exterior a radiant polish with a trusty paper towel.
Step 7: Reunite and Celebrate
Before the grand finale, ensure every nook and cranny is dry and content. Reassemble all the removable parts into the main unit. Congratulations, your air fryer is now a shining star, ready to conquer the culinary world once again!
FAQ
Can you clean an air fryer by putting water in it and turning it on?
No, you should not clean an air fryer by putting water in it and turning it on. Air fryers are electrical appliances, and adding water to the cooking chamber while it’s turned on can be extremely dangerous and cause electrical damage or pose a risk of electrical shock.
To clean your air fryer, follow the safe and proper cleaning instructions provided by the manufacturer, which usually involve unplugging the appliance, removing and cleaning the removable parts (like the basket and tray) with warm, soapy water, and wiping down the interior and exterior of the unit with a damp cloth or sponge. It’s essential to follow the manufacturer’s guidelines to maintain your air fryer’s safety and performance.
How do you get baked-on grease out of an air fryer?
To remove baked-on grease from your air fryer:
1. Let it cool down and unplug it.
2. Remove and soak the removable parts in warm, soapy water for 10-15 minutes.
3. Gently scrub with a nonabrasive sponge or soft-bristle brush.
4. For stubborn areas, make a paste of baking soda and water, apply, and scrub.
5. Rinse and dry all parts thoroughly.
6. Wipe down the interior with a damp cloth.
7. Clean the exterior using a damp cloth with a bit of dish soap and then dry it.
How often should I clean my air fryer?
After each and every use the air fryer should be cleaned. But make sure the air fryer is not connected to electricity and the air fryer is cooled down after use.
Can I put parts in the dishwasher?
Yes, modern air fryers do come with dishwasher safe air fryer baskets. But this can also be a mere marketing gimmick for some brands. Therefore, make sure to read the manual and to check the air fryer basket and accessories after cleaning in the dishwasher.